(Photo Credits – Bonnie Retief)
Almost 4000 years ago was the first time family yeast was used for baking in Egypt. In those times, rather than purchasing active dry yeast for each batch of bread, bakers would depend on wild yeasts. The yeast was “captured” as they called it, from thin air and the grains used to make flour. Grown in a suspension of flour and water, sometimes called a “sponge”, was a popular practice that was widely followed back then.
It definitely was a slow process, as it can take a week or more for the yeast to get into an activated state before it is ready to be put to use. Rather than starting over each time, families would carefully save a portion of the fermented “starter,” or “sponge,” and then feed it with flour and water every time a portion of it was removed for baking. The starter was then kept in a special crock pot or jar and would travel as a family member when they moved or relocated. There are famous tales of miners in the California Gold Rush who would sleep with their “starter” tucked inside their shirts to prevent them from being killed by freezing temperatures.
This ancient tradition is gaining in popularity again and passionate bakers and foodies are growing rather fond of their own family yeast cultures. So we thought, with people spending more time indoors these days, we would help you get your family yeast started today!
1) Getting Started:
On Day 1 – How do you get started?
- You would need 1 ¼ cups of spring water or filtered water (tap water tends to kill off the good bacteria)
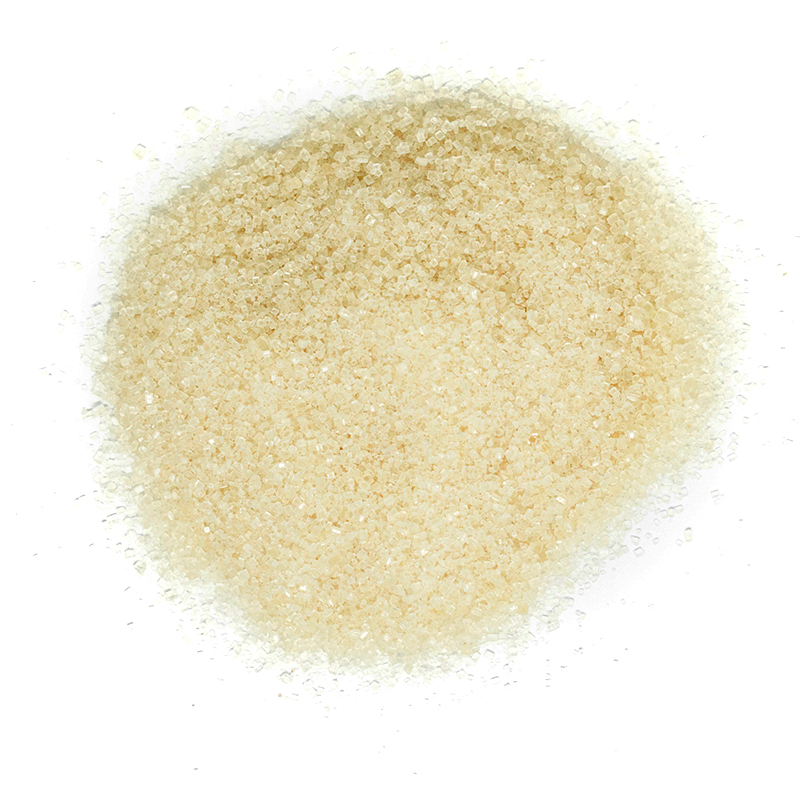
- 1 tablespoon of the Westpoint Organic Cane Sugar.
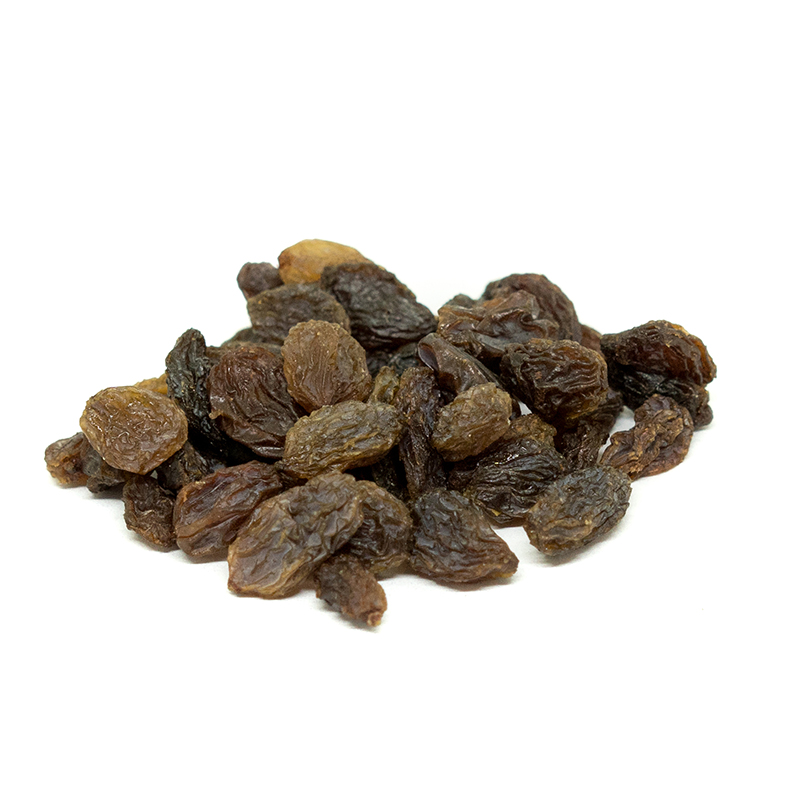
- About 100 grams (a little over ½ a cup) of the Westpoint Organic Thompson Raisins
- A glass jar and a plastic wrap, or something similar to cover it with.
Add the water, sugar and raisins to the jar. Cover the jar with plastic wrap (some prefer using a rubber band and coffee filter) and leave out at room temperature. Wait for about seven days. On day seven, you should see small bubbles and a some-what fruity, alcoholic aroma. You don’t need to do anything till day eight. As you see larger bubbles form and the smell starting to get stronger, strain the raisin water and discard the raisins.
On Day 8 – Here’s what you do next!
- You would need 2/3 cup raisin water
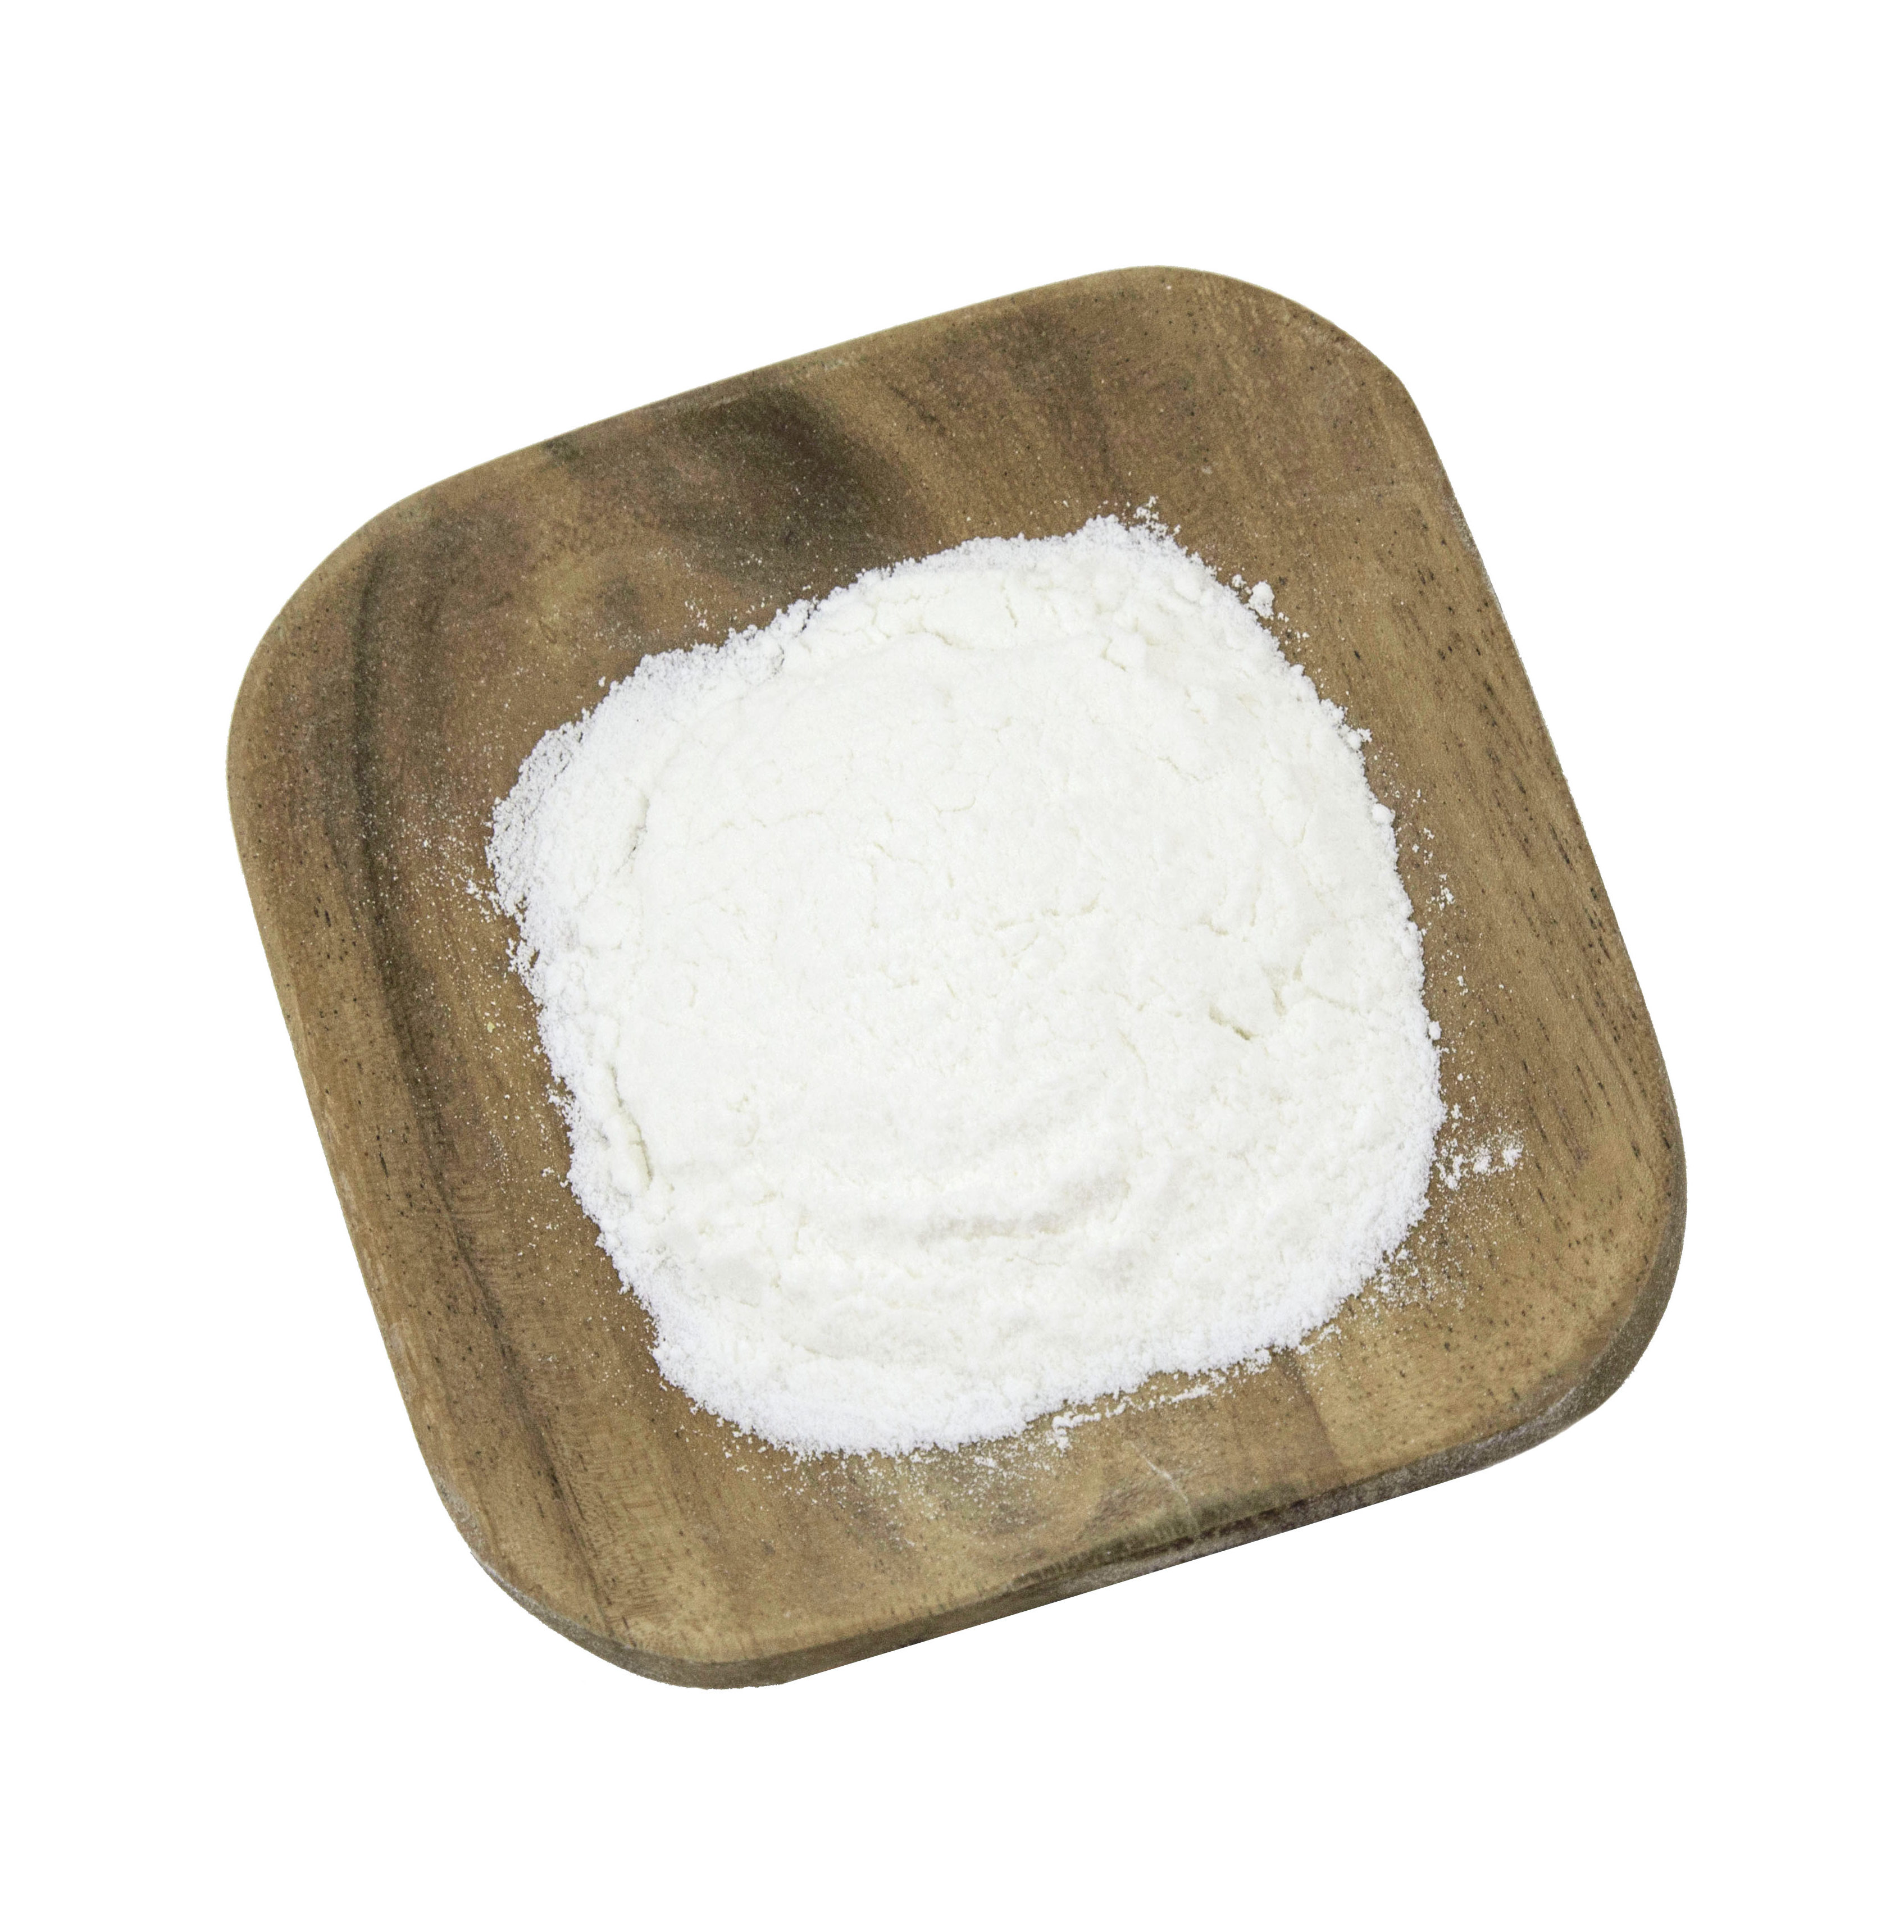
- 1 cup of the Westpoint Organic All-Purpose Gluten Free Flour Mix
- 1 ¼ teaspoon of the Organic Cane Sugar
To your raisin water, add the all-purpose flour and sugar. Keep it in a warm place until you see it rise and almost double in size. Once that happens you can then place it in the refrigerator for a bit. Remember that you have to keep your starter going and depending on how much you bake and need might need to feed it anywhere from 1 time a week to sometimes daily. To keep the starter going you can follow the tips listed below:
Do remember that you have to keep the starter going by feeding it every now and then. We will get back to tips you can follow to do that effectively, in a quick bit!
2) For the sourdough lovers out there, here is how you can get started:
- To start out, you would need fresh water (that has no chlorine in it) and a potato.
- You place the potato, into a small saucepan and cover it just over the potato. Bring it to a boil and cook the potato until it becomes very soft.
- You can then remove it with a kitchen spoon and leave the water alone.
- Finally mash the potato until it becomes creamy.
You can now, add the potato back into the water you cooked it in. Mix it very well and pour the solution, which will be thickened, into a jar or bowl. Cover it with a simple piece of cloth or screen so that air can get to the starter but you want to keep the flies away! The starchy mix will begin growing yeast within a few hours. At the end of the first 24 hours, you should see bubbles beginning to form on the top of the mixture. This is when we know that our yeast is growing! It isn’t ready yet though so don’t rush it. It takes two full days of sitting for your starter to yield enough yeast for your bread baking purposes.
When you finish using your culture, add more water to it and allow it to continue growing again for at least two days. You will always have yeast ready for sourdough bread as long as you add water back to it and you keep it covered from bugs and flies.
3) How to Get Your Family Yeast Starter, Ready to Bake:
When you’re ready to bake, bring your starter out of the fridge, discard ¼ cup, add water and flour and mix. You’ll want to do this every time before you bake, even if you’ve already fed your starter that week.
Leave it out for 8-12 hours at room temperature until it doubles in size and viola you are ready to bake!
4) Tips on how to keep that starter going:
There is no single set way to nurture a starter. As long as you keep the starters at a comfortable temperature, feed them frequently and keep an eye out to prevent them from dying, you will be fine.
- To start out you would need to do the following everytime you want to feed the started either once a week or daily. Take the starter out and discard ¼ cup from it once it is at room temperature.
- To the remaining starter, add 2/3 cup lukewarm water and 2/3 cup all-purpose flour and mix them well.
- Let it sit at room temperature until the starter bubbles, after which you know exactly what to do by now, place it back in the refrigerator for another week or so.
- Remember that every time you feed your starter, take it out of the fridge and wait until it’s at room temperature. You should also always feed it equal parts flour and water.
- A Pro tip: You can add a small spoonful of sugar to their mixture if you want to bake a sweeter bread. Sugar is also food for the yeast to enjoy as it grows.